
Occasion
Christening and new baby photo booth templates
Soft, gentle frames to welcome a new name and bring the family together. 20 templates to customise online with your own text, in 4×6 or 2×6 strip format.
For a christening, a naming day or a new baby celebration, the photo booth frame should feel gentle: gingham, pastel stripes, light florals. Choose a design, replace the sample text with the baby’s name and the date, adjust the colours to your decorations, then download a high-resolution PNG overlay ready for the photo booth on the day.
20 templates




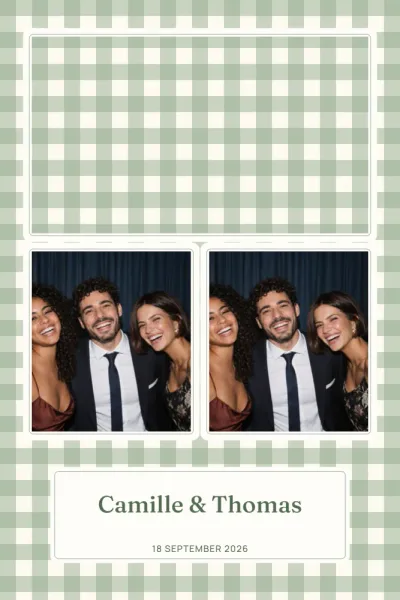








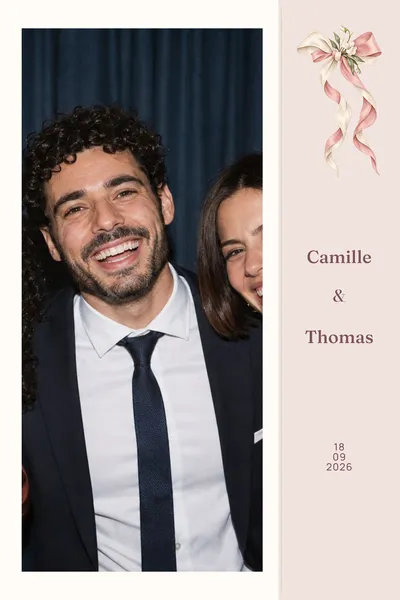






Choosing a christening or new baby design
The selection leans towards soft patterns. Sky Blue Gingham combines sky-blue gingham, delicate borders and an ivory name panel; Sage Stripes opts for diagonal sage stripes around ivory frames. For something more floral, Apple Blossom shows a spring orchard in pinkish white with arching branches.
Colours are yours to change: pink gingham can turn butter yellow to match the decorations or the favours. To compare the simplest patterns, browse the minimalist christening designs.
Which sizes work for a christening photo booth?
Christening and new baby designs come as a 4×6 print, portrait (1200 × 1800 px) or landscape (1800 × 1200 px), and as a 2×6 photo strip at 600 × 1800 px. Most hold one, two or three photos per print.
A 4×6 slips easily into a baby album or a frame on the sideboard. In the dslrBooth package, the strip is placed twice side by side on a 4×6 sheet: once cut, one strip goes home with the guest and the other can join the parents’ album.
What to write on a christening frame
The baby’s name and the date are the essentials. Depending on the occasion, add ‘Welcome to the world’, ‘My christening’, the name of the church or venue, or a short line from the parents. For twins, two names fit on one line if you widen the text area, since every area can be moved and resized.
The editor warns you if sample text, such as the demo names, is still in place, or if a line runs too long. Anything you spot afterwards can be corrected from My account, and the link to your files can be shared with your photo booth supplier.
Printing soft, crisp keepsakes
Print at 100%, actual size: the file is already 300 DPI at its final dimensions, and scaling it would shift the photo spaces. Keep the name and date a few millimetres from the edges, as the cut can drift slightly.
Do a test print before the ceremony with the printer and software you’ll use on the day, and check the orientation. The photo spaces stay transparent, ready for the pictures taken on site. Questions about the files are often answered in the frequently asked questions.