
Occasion
Corporate event photo booth templates
Team party, conference or launch: a simple frame with the name of your event. 47 templates to customise online with your own text, in 4×6 or 2×6 strip format.
Team party, conference, product launch or end-of-year drinks: a photo booth gives attendees a keepsake that reflects the event. Choose a clean or festive frame, add the event name, the date and a hashtag, match the colours to your brand guidelines, then download a high-resolution PNG overlay ready for the booth software.
47 templates

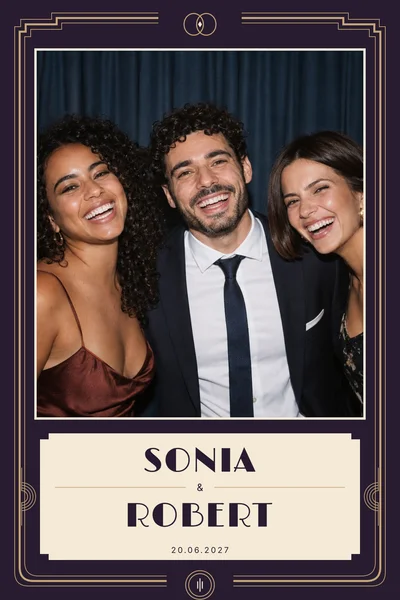





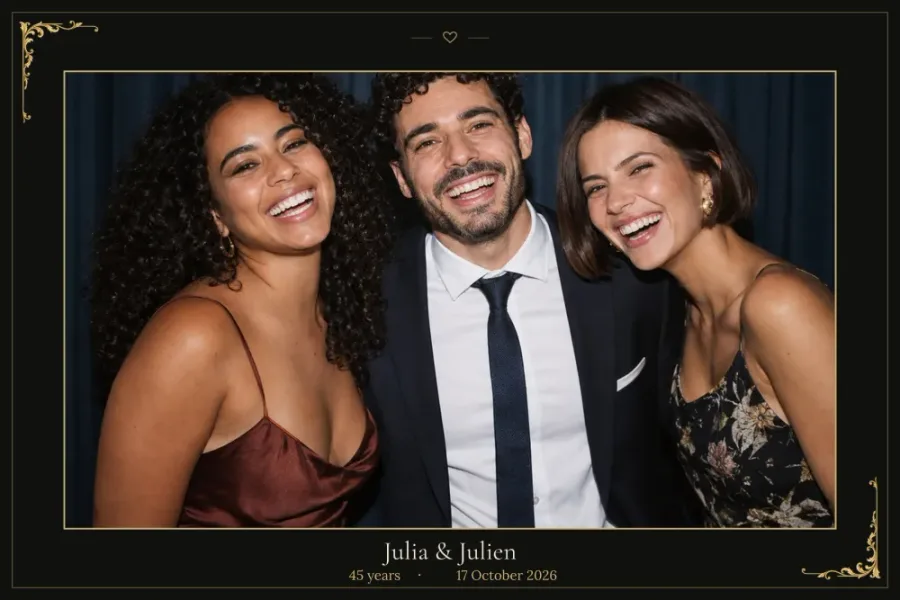

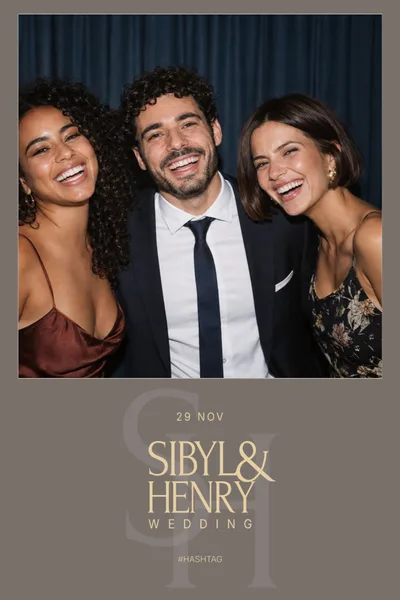

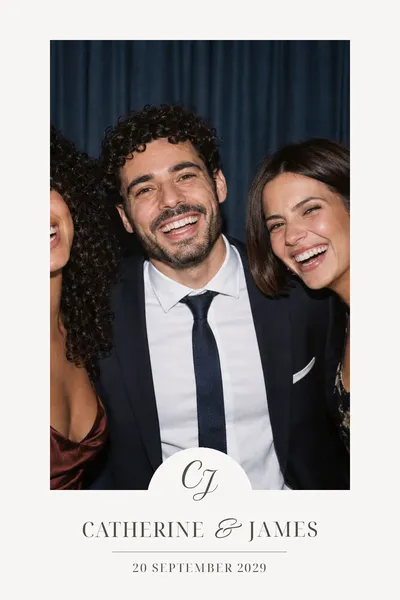



































Choosing a frame for a corporate event
A corporate frame should stay legible and let the people take centre stage. Graphic lines work well: Circled Initials sets initials inside a circle, minimal and graphic, while Manhattan draws a black and brass skyline for a more urban evening. For a gala dinner, the Art Deco corporate designs bring gilding and geometric patterns.
Every colour in a design can be swapped, along with the background and the colour of any single line of text, so you can pick up your brand colours without starting from a blank page.
Sizes and layouts for conferences and staff parties
The 4×6 print, portrait or landscape, is the most widely available size; the 2×6 photo strip suits activations where people strike several poses in a row. In the dslrBooth package, the strip is placed twice side by side on a 4×6 sheet, ready to cut.
Several designs come as a 5×5 square with a single photo, handy for a social-media look. The choice in 6×6 square is more limited: Pure Simplicity is one option, with white space, a single line of text and a photo that takes centre stage.
Event name, date, hashtag: what to print on the frame
The event or company name, the date and the city are usually enough. A hashtag helps gather the photos your teams share, and a short tagline or the evening’s theme can round things off. All of these areas can be moved and resized to keep the layout balanced.
The editor flags any sample text left in place and any text that overflows its area. A late typo can be fixed from My account, and you can send the link to your files to your agency or photo booth supplier.
Printing and technical set-up
The file is supplied at 300 DPI at actual size: set your print to 100%, with no fit-to-page option. Keep key details, such as the company name, a few millimetres from the edges, as the cut can drift.
The package is ready to import into dslrBooth. With other software that accepts a PNG overlay, the JSON file gives the position and size of each photo space in pixels. Either way, run a test print before the event and check the orientation. Detailed answers are in the frequently asked questions.